
At least one Protection Profile must exist before you can create an LLM policy.
View your LLM policies
Navigate to Data Control Center → LLM Policies.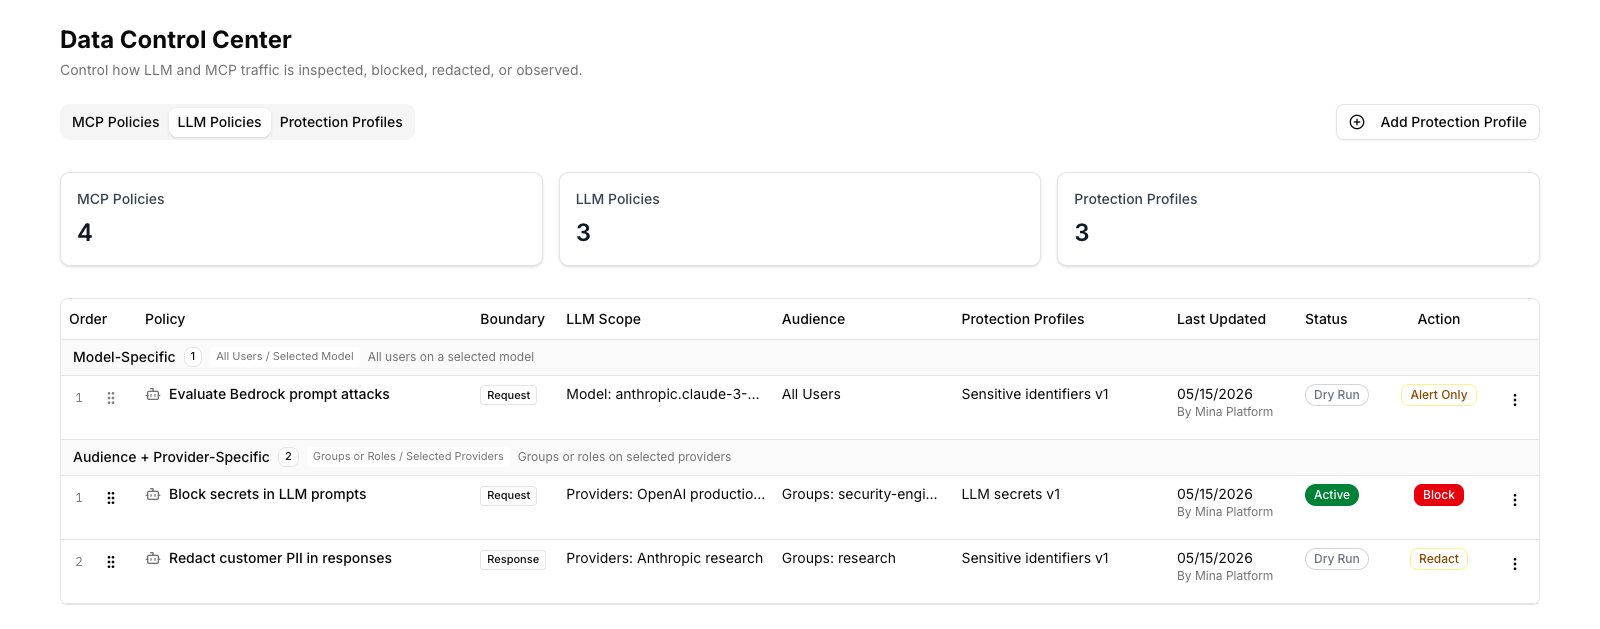
- Order / Priority — policies execute in priority order
- Policy name
- Boundary — Request (prompt inspection), Response (response inspection), or Both
- LLM Scope — which providers and/or model alias the policy targets
- Audience — groups or roles scoped (blank = everyone)
- Protection Profiles — detection engines attached
- Last Updated
- Status — Active or Dry Run
- Action — Block, Redact, Alert Only, etc.
+N overflow — hover to see the full set.
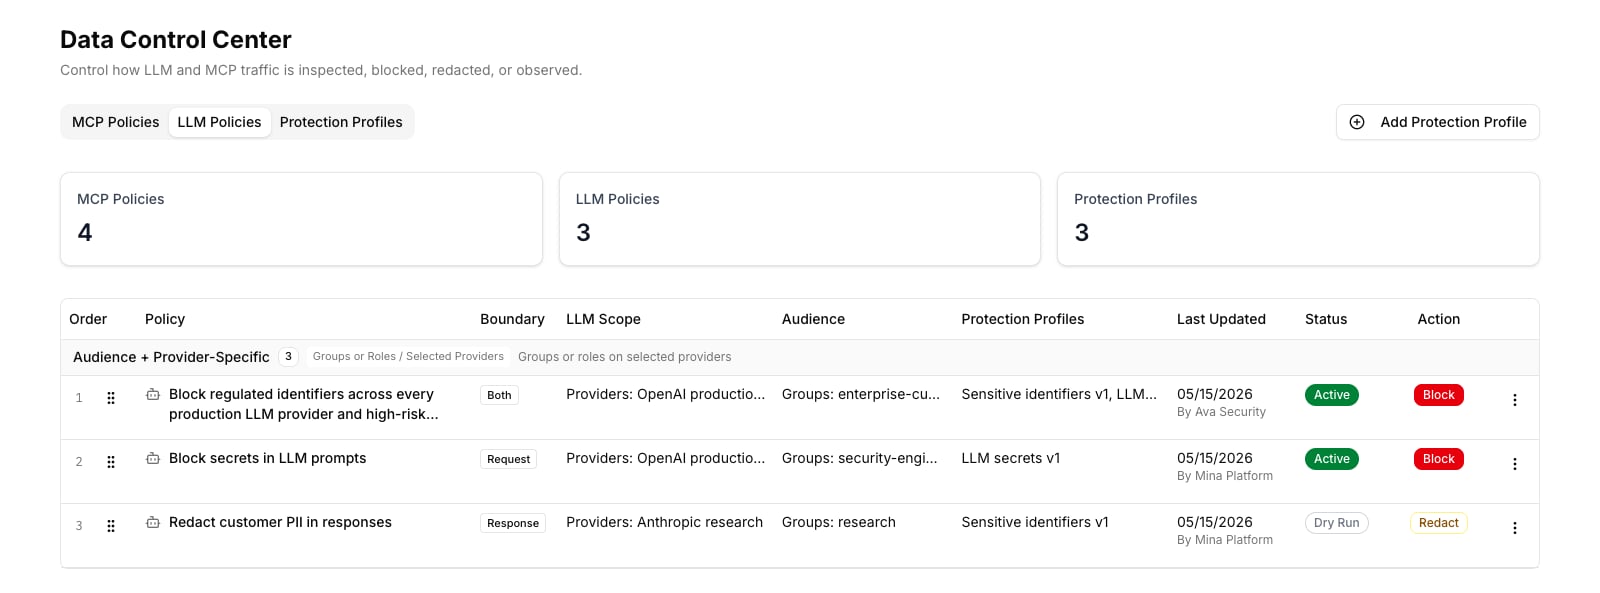
Create a policy
- Click New policy at the top of the LLM Policies tab.
-
Name — a clear name describing what the policy protects. For example:
- Block secrets in LLM prompts
- Redact customer PII in responses from the research team
-
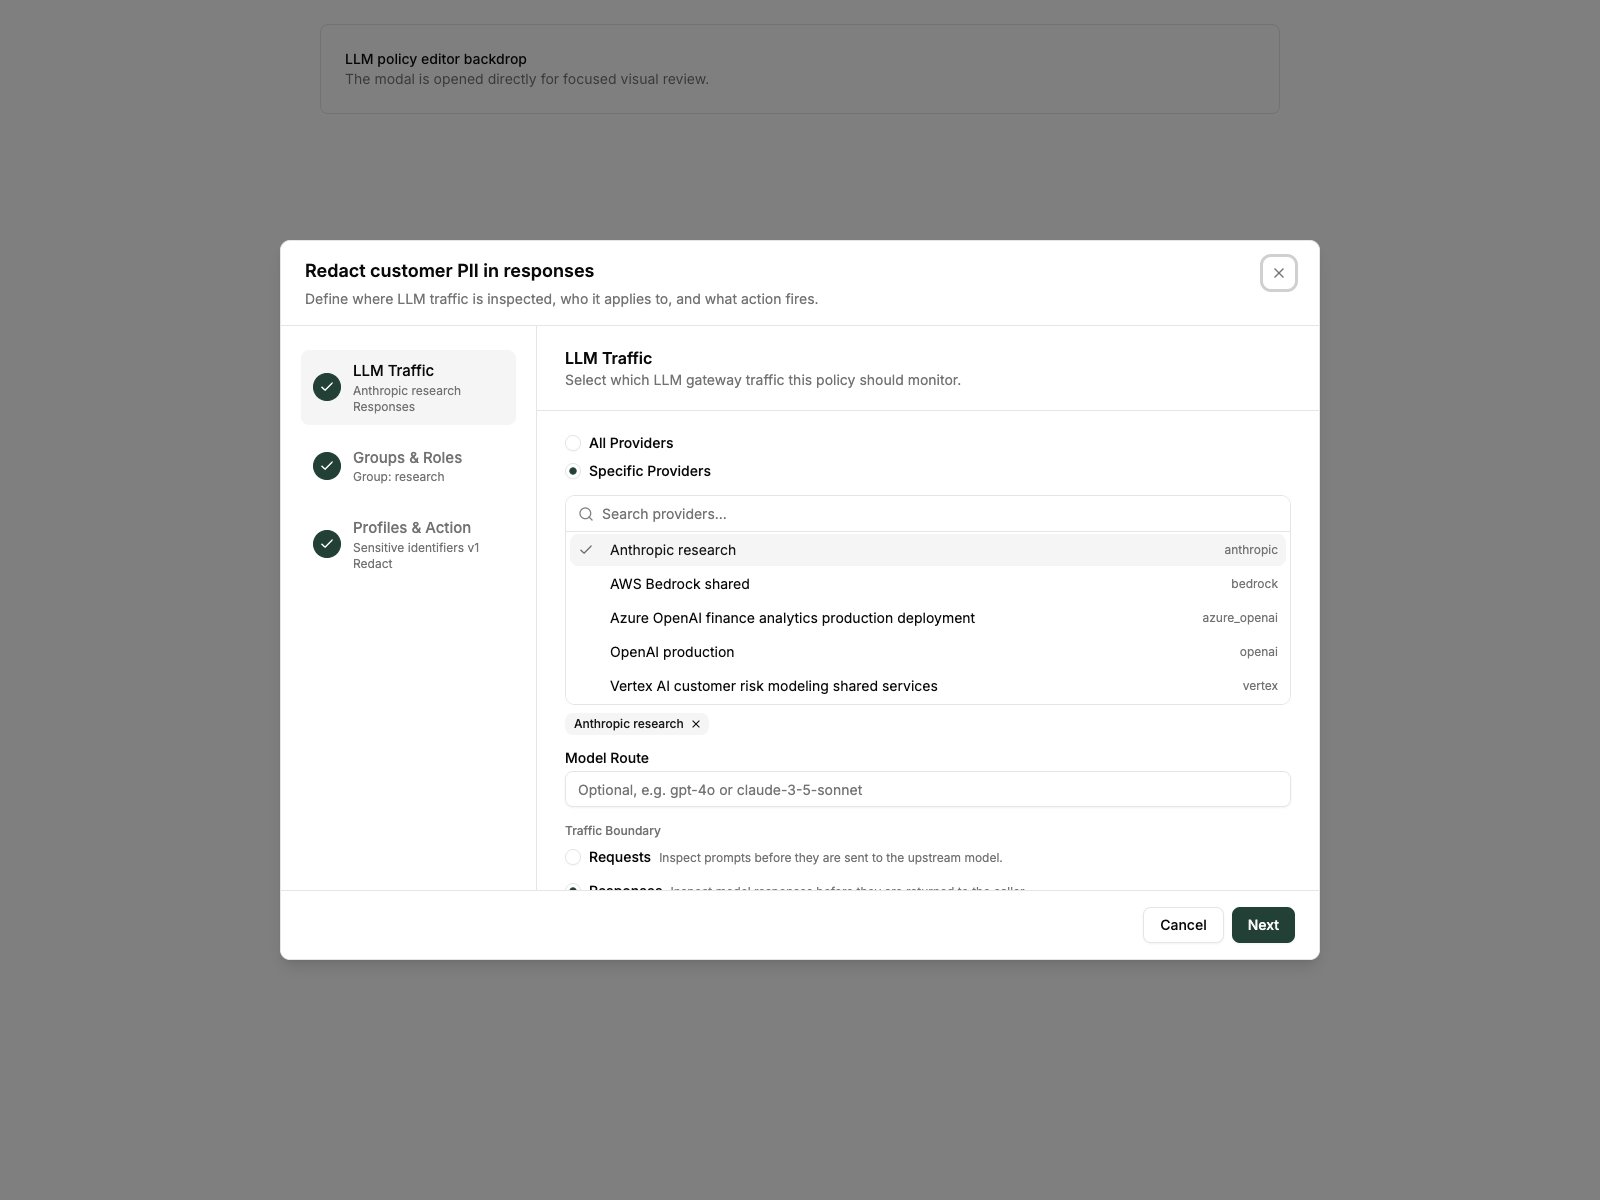
LLM Traffic — choose which LLM providers this policy covers:
- All Providers — applies to every provider in your gateway
- Specific Providers — select from the registered providers list
-
Model Route (optional) — narrow the policy to a specific model alias (e.g.,
gpt-4ooranthropic.claude-3-5-sonnet). Leave blank to apply to all models on the selected providers. -
Traffic Boundary — choose which direction to inspect:
- Requests — inspect prompts before they are sent to the LLM
- Responses — inspect responses before they are returned to the agent
- Both — inspect in both directions
- Groups & Roles (optional) — restrict the policy to specific principals. Leave blank to apply to everyone.
- Profiles & Action — select one or more protection profiles, then choose the enforcement action (Block, Redact, Tokenize, Alert Only, Bypass).
- Dry run — toggle on to observe without enforcing.
- Click Save.
When the runtime is disabled
If the DLP runtime is globally disabled, the policy list shows a warning banner and no enforcement occurs regardless of individual policy settings.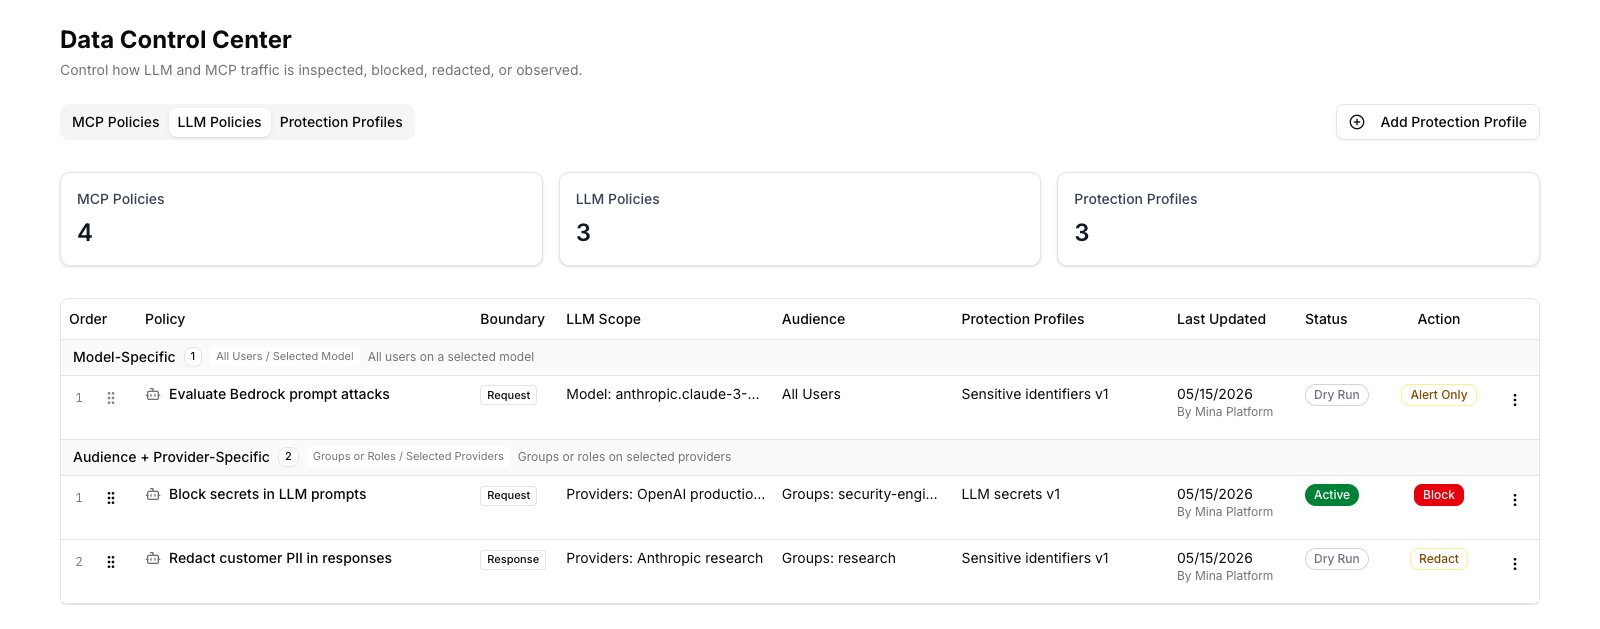
Edit a policy
- Find the policy in the list.
- Click ⋮ → Edit on the policy row to reopen the wizard.
- Update any field — provider selection, boundary, groups, profiles, or action.
- Save. Changes take effect within seconds.
Change policy priority
Drag a policy row using the ⠿ handle to reorder within its group. Lower order numbers run first. The order saves immediately.Delete a policy
- Click ⋮ → Delete on the policy row.
- Confirm. The policy stops enforcing immediately. Historical audit events are preserved.
Test a policy
Using dry run
Turn on dry run before activating a new policy. Let real agent traffic flow through, then check Detection Activity to see what would have been caught. When coverage looks correct, edit the policy and disable dry run to start enforcing.Using the Test Workbench
For controlled testing:- Navigate to Data Control Center → Test.
- Choose LLM mode, select a provider and boundary.
- Paste a sample prompt or response payload.
- Run the test and inspect which policies matched and what the processed output looks like.
Verifying in the Audit Center
- Go to Audit Center → filter by Event type: Data Protection.
- Filter by Provider to see only events for a specific LLM provider.
- Each row shows the policy name, detection type, boundary (Request / Response), provider, model alias (if scoped), and principal context.
Common patterns
Block secrets in every prompt, globally:- Providers: All Providers
- Boundary: Requests
- Profiles: Secrets detection profile
- Action: Block
- Providers: Anthropic (or specific)
- Boundary: Responses
- Groups:
research - Profiles: Sensitive identifiers profile
- Action: Redact
- Providers: AWS Bedrock shared
- Boundary: Requests
- Profiles: Prompt Injection profile
- Action: Alert Only
- Dry run: on initially